Camera orientation
Depending on the particular needs of each station, there are several ways to mount the cameras. However, the recommended way to do it, is:
(a) Place one of them to get an overview of the studio table, usually in one of the corners of the room, looking out of the control window. So that when the speakers are looking at the operator, they are looking at the panoramic camera as well. This overview camera can be set up for use when three or more microphones are on the air simultaneously, or when live events are taking place in the studio that require an overview shot.
The most frequent case is when musicians come to play in the studio. In these cases it is often good to look for the wide shot. For the best visual experience, this camera should be placed at the same height (or slightly higher) than the other cameras mounted on the microphone arms. Never against the ceiling, as is used in the case of security cameras.
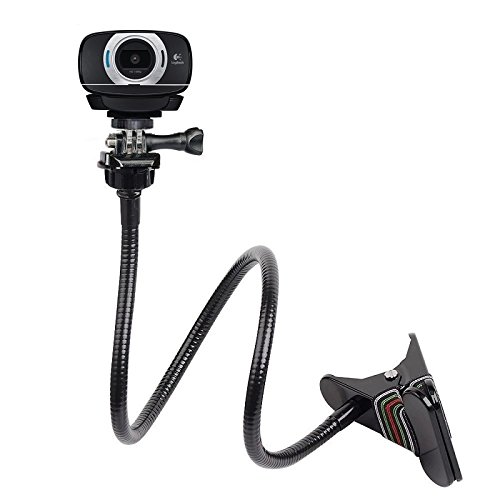
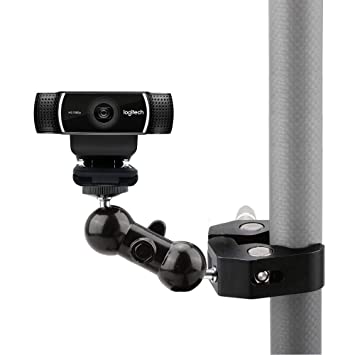
(b) The remaining cameras are ideally mounted on the same microphone arms. This way, no matter the orientation of the boom, the camera will always be taking the person in front of the microphone. For this purpose, various types of arms and brackets are available on the market, which can be attached to the microphone arm or to the table, depending on each case.
(c) It is very important to avoid backlighting. Cameras should not be oriented in the direction of any light source. Whether it is a window or artificial studio lighting. Since people will be in shadow.
In cases where backlighting cannot be avoided, additional lighting should be installed in the studio. For this purpose we recommend LED panels, which are widely used in television applications.